Massey Ferguson 565 clutch repair
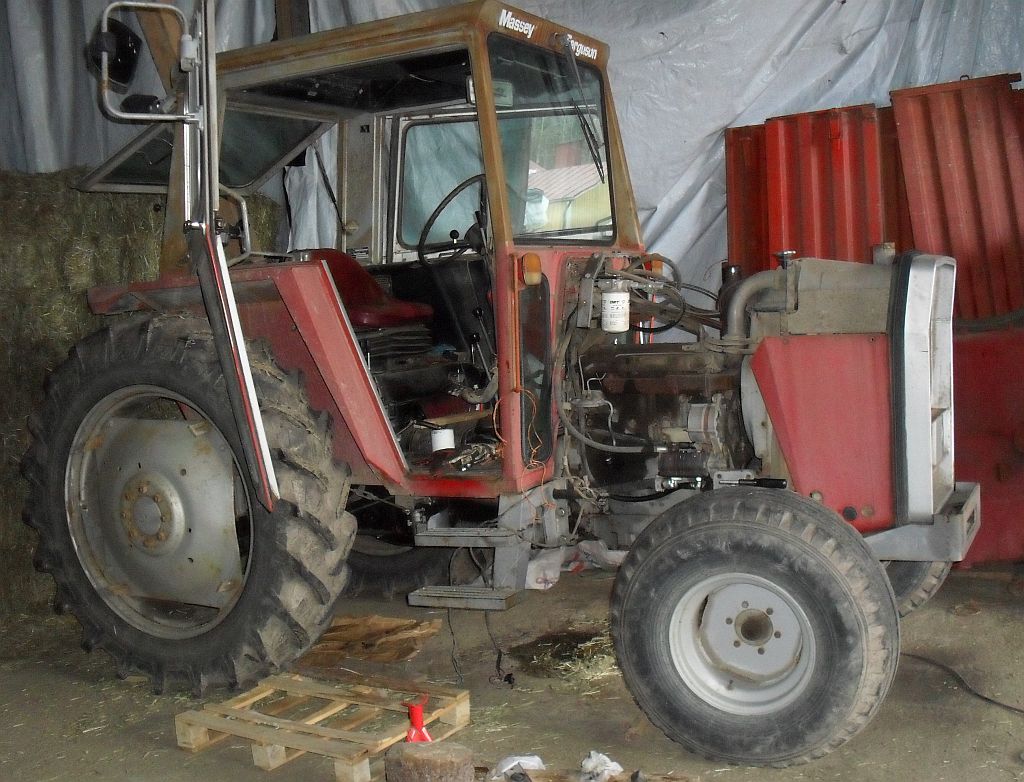
Preparing for the Massey Ferguson 565 splitting and clutch repair. The clutch was noisy and the performance was rather poor. The clutch has been opened once because of slipping, when the tractor was rather new. I don't know what caused the slipping. This 565 is with a dual stage clutch and "live" Power Take-Out (PTO) without hydraulic "independent" coupling (IPTO). The tractor still has option for the 1000 rpm PTO by changing the shaft.
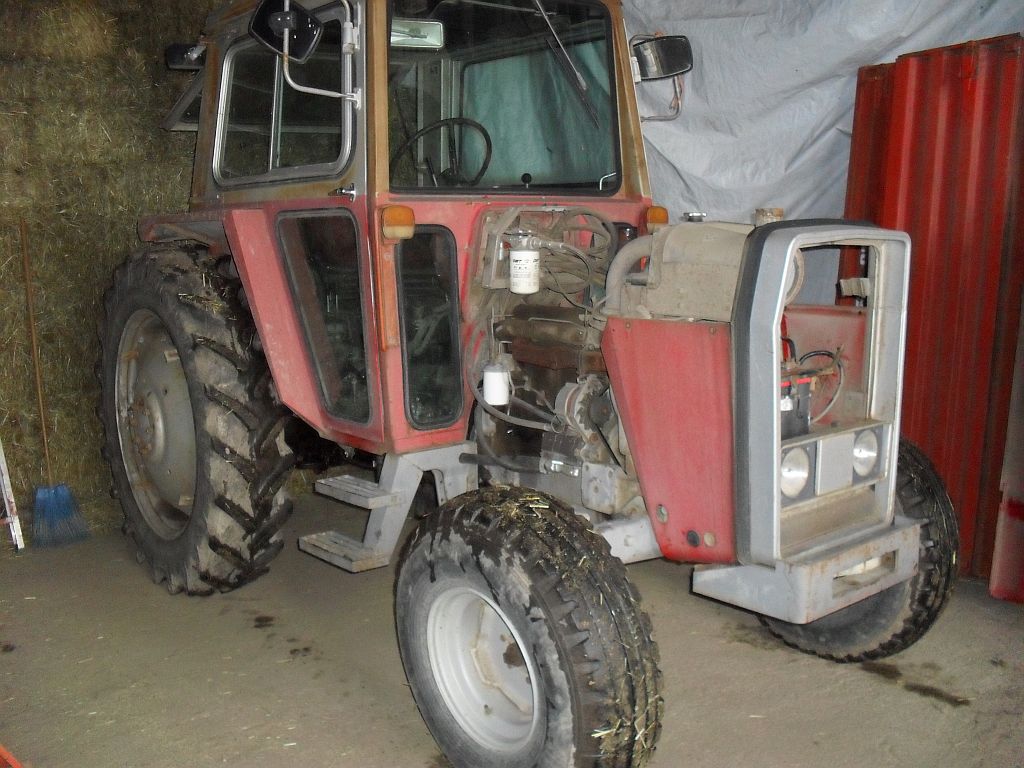
In my opinion 500 series tractors are rather easy to service and repair. You can lift the air intake and exhaust pipes off and then just lift the bonnet off and the engine is easily accessed. Six bolts fasten the bonnet, which is rather heavy, I must admit.
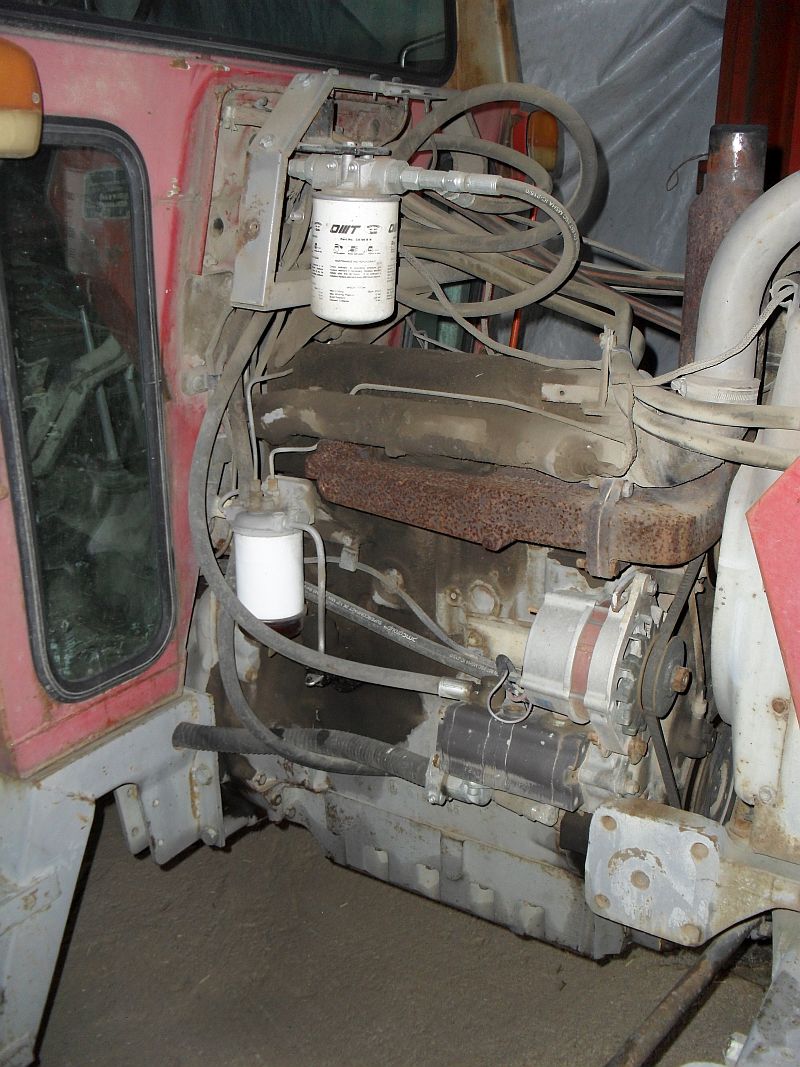
I disconnect the wiring from the connectors in the cabin wall and around the engine; The electric system is simple. Then I separate the heater and windscreen washer hoses from the cabin and the rev counter cable from the engine front.
The "custom" tandempump hoses separated from the pump, filter and orbitrol. The fuel tank is under the cab; I disconnect the fuel suction hose from the transfer pump here and the return hose from the injector's overflow pipe on the other side.
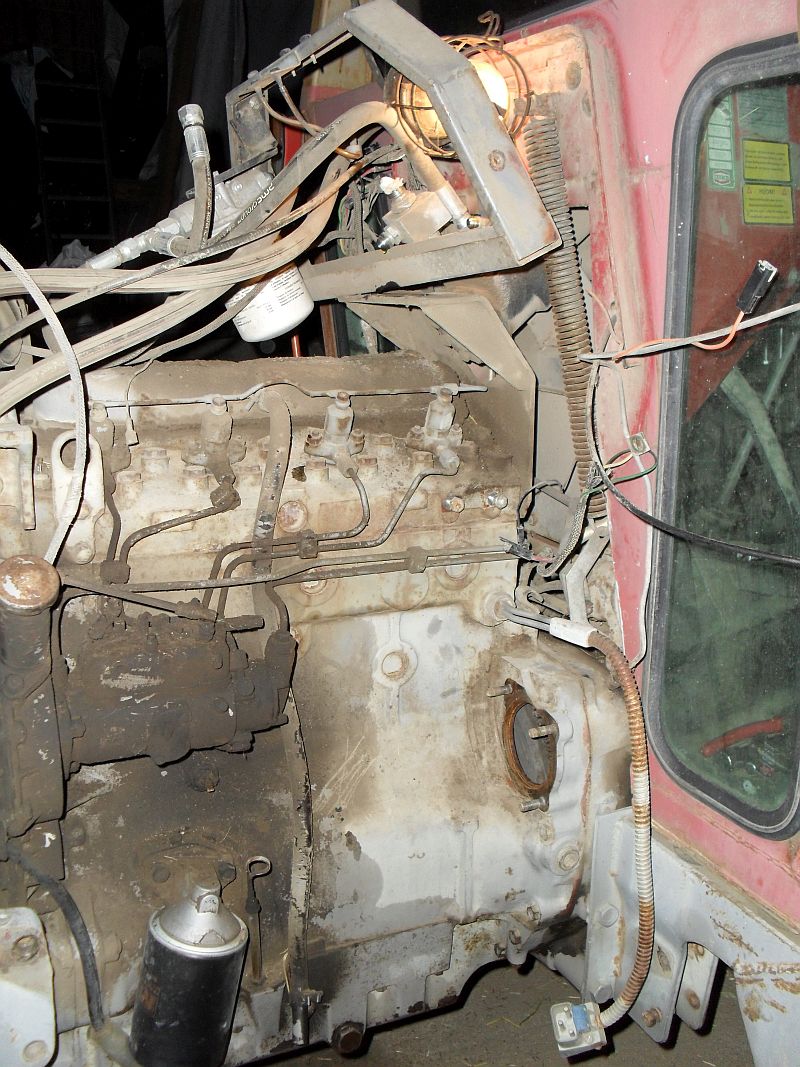
The toolbox and support away. Then "shut down" cable from the injector pump and the "throttle" linkage from the cab. The injector pump is rather dirty; Haven't been need to aerate for a while.
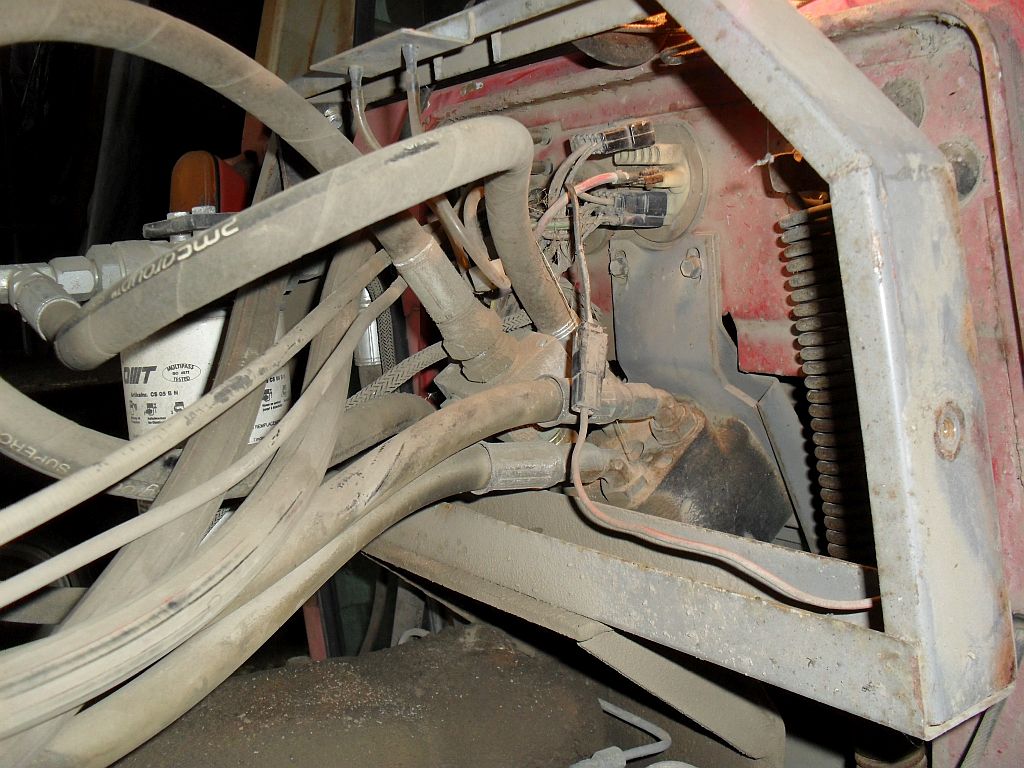
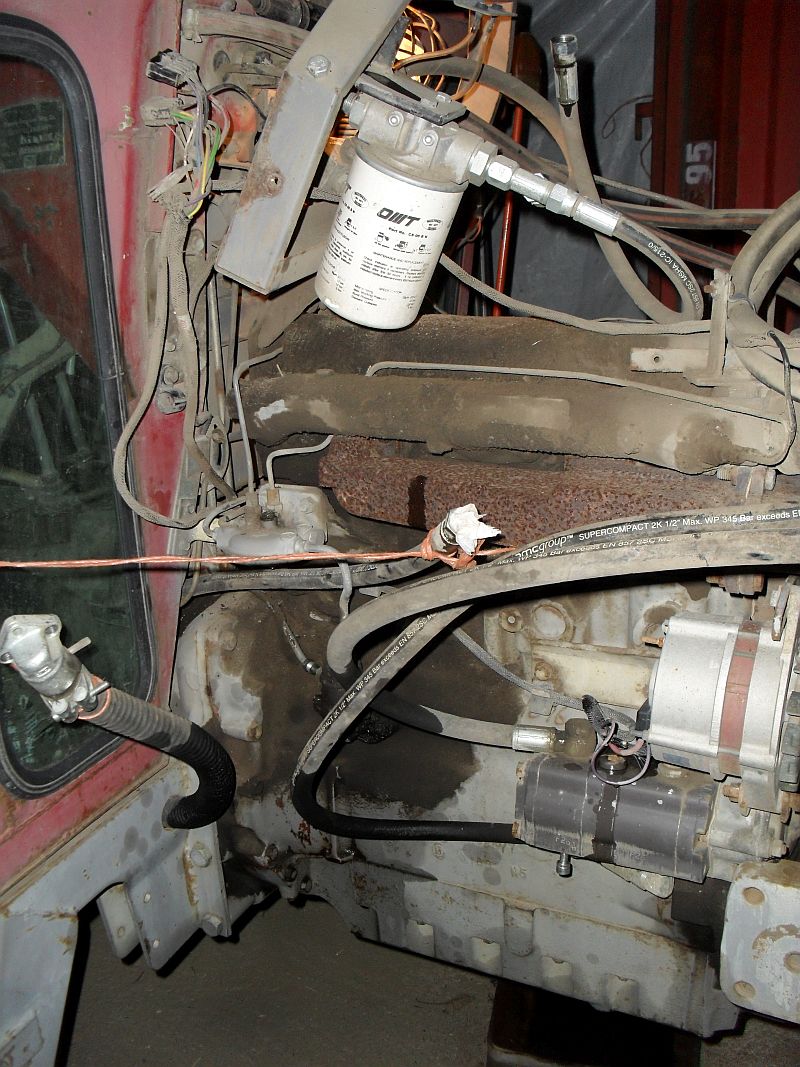
I separate the steering cylinder's hoses from the orbitrol. That frame I unbolt from the engine and hang to the cabin.
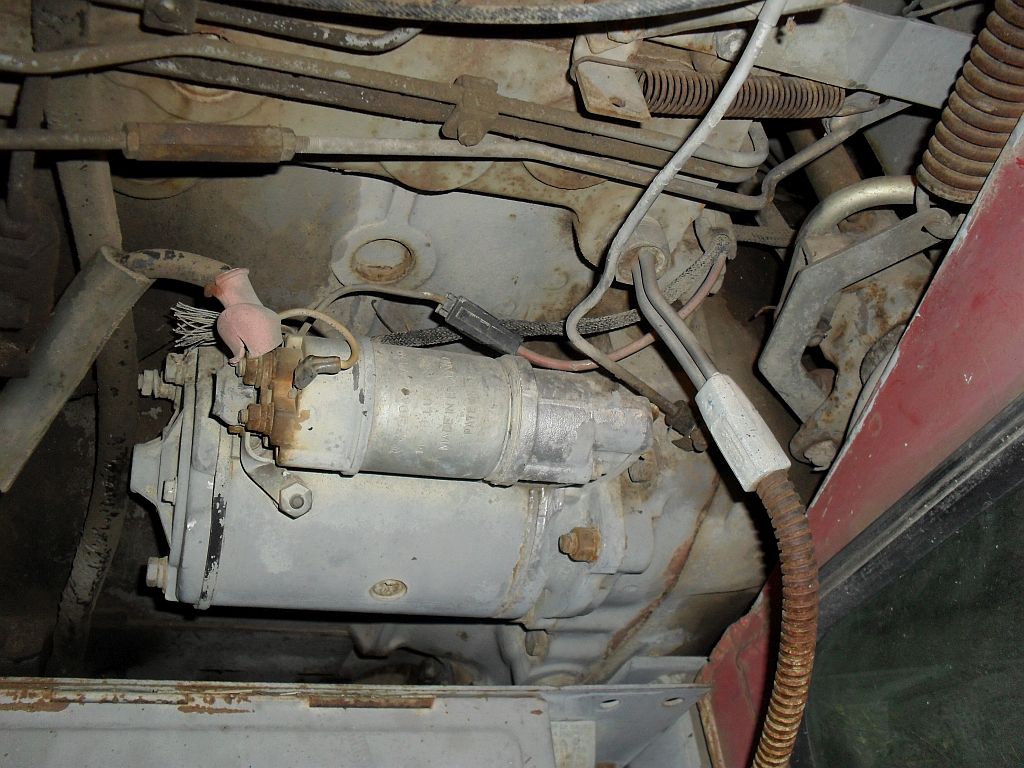
I also remove the starter; The battery connection was already opened.
For the body connection there's usually one bolt in the dark over the clutch housing, but this lightweight machine doesn't have it in this case.
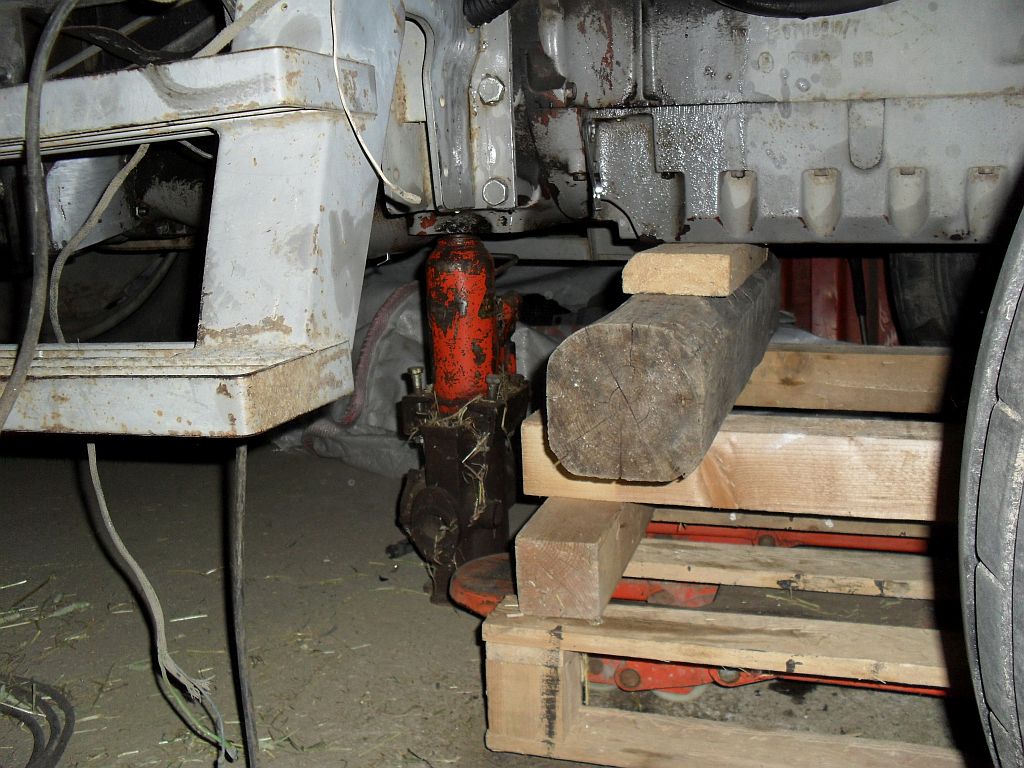
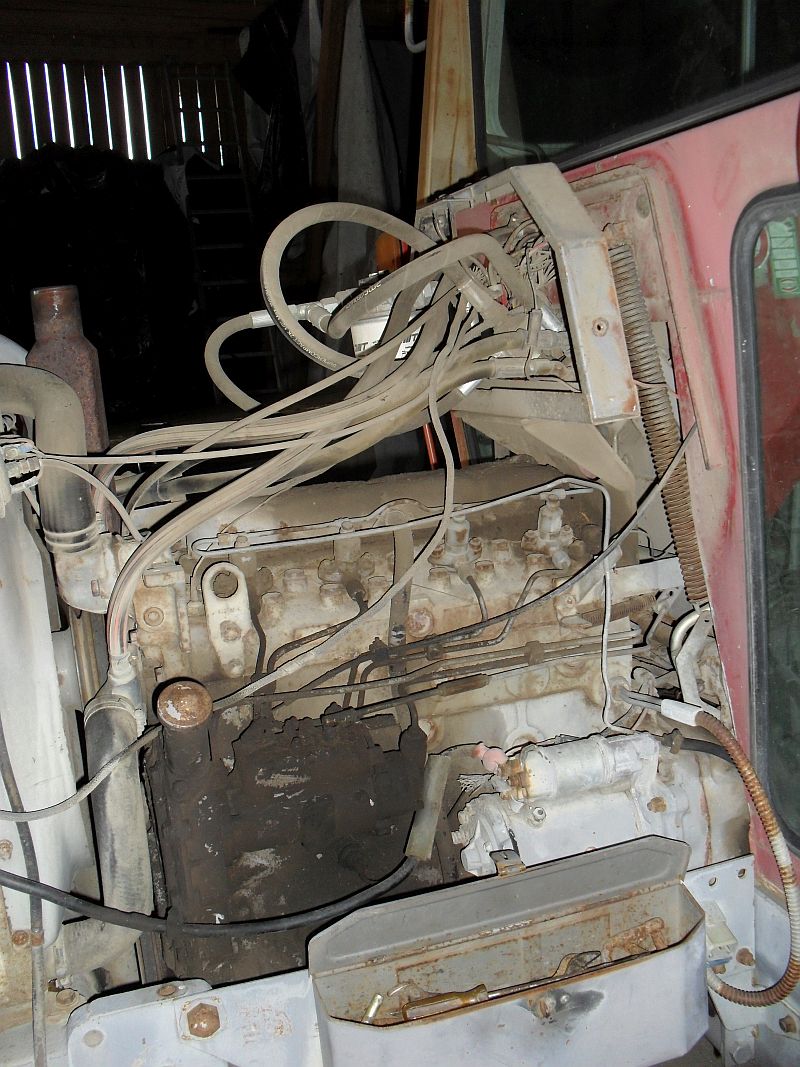
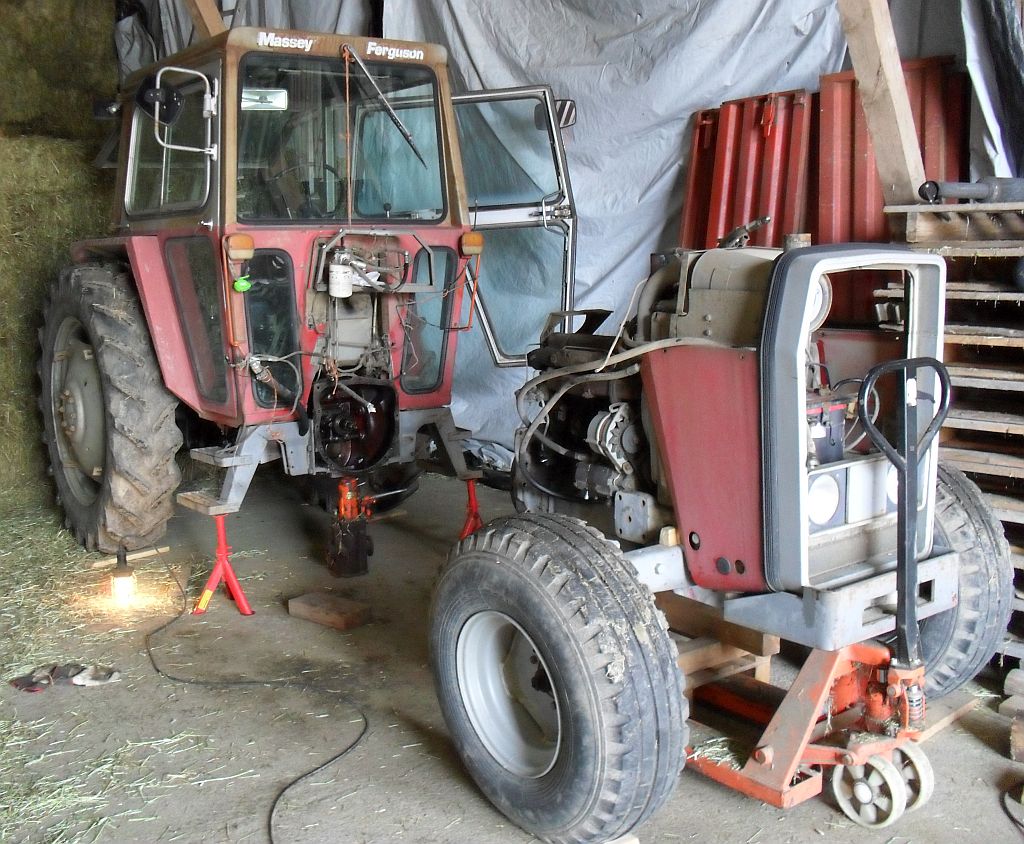
I support the gearbox with my extended bottle jack. Under the engine I have a truck pallet and some wooden balks. Then I draw the front part away with a pallet truck.
There are wooden chokes between the front axle and it's housing to keep the engine steady. So far the splitting went very easy.
Now it's possible to investigate more.
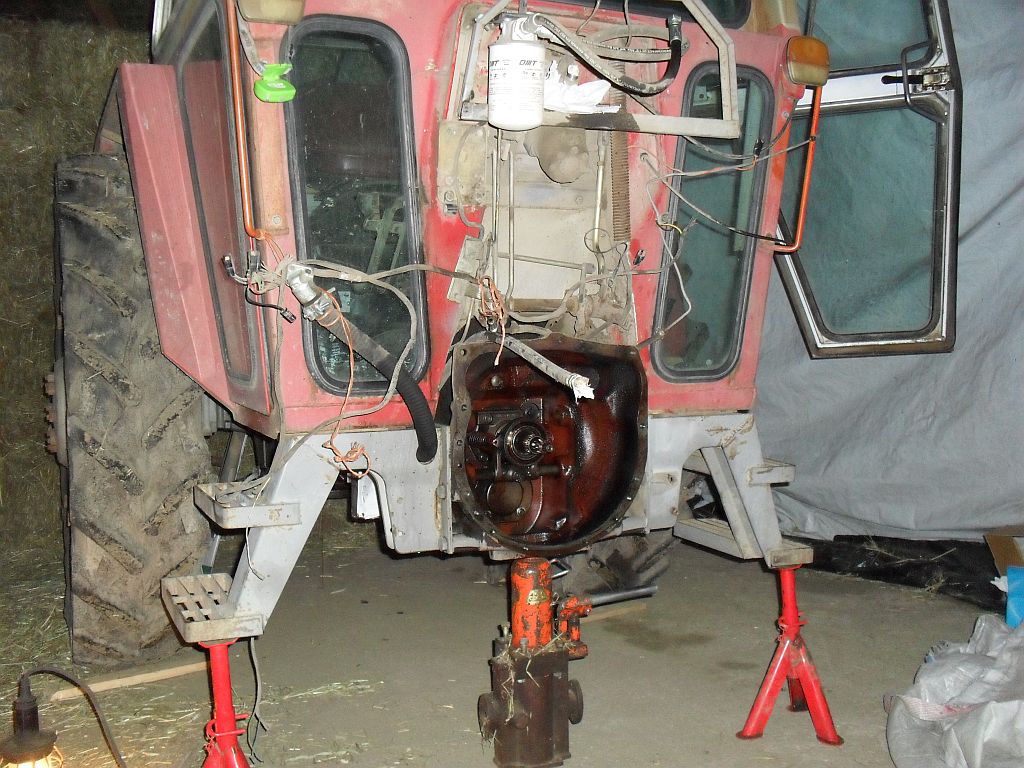
Now I have access to clutch and brake linkage, so I check them too.
The 565 haven't dropped oil from the gossip hole under the clutch, anyway the housing is a little moist inside.

These linkages are in OK condition, but the bar for clutch adjust is in odd angle. The long spring is there to make pressing the clutch pedal lighter. It acts through a curved rod, that should move pass the dead point and draw the pedal up without stressing the cluth itself.
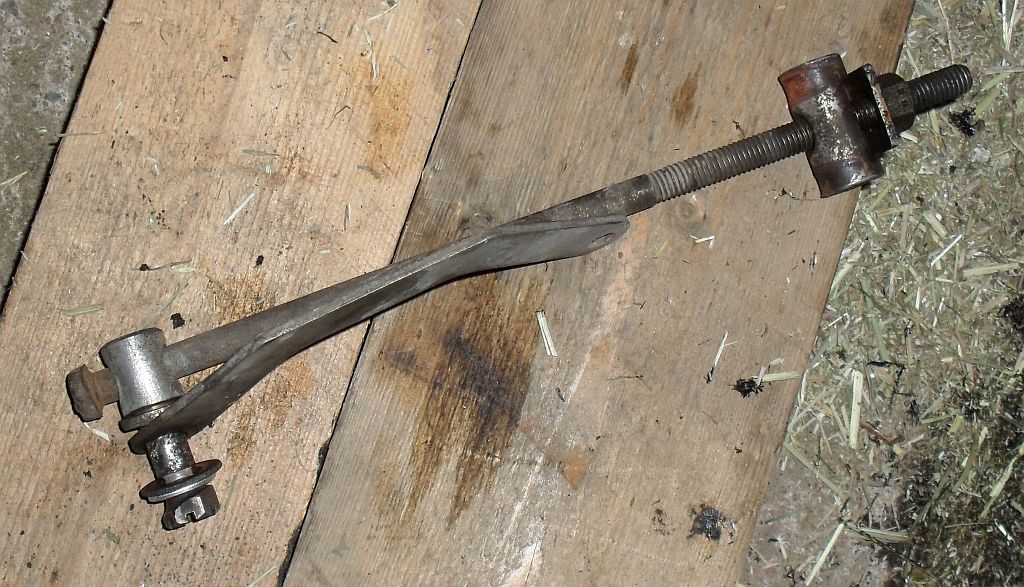
I welded some fillment to that bolt and inserted a washer to make this sit better.

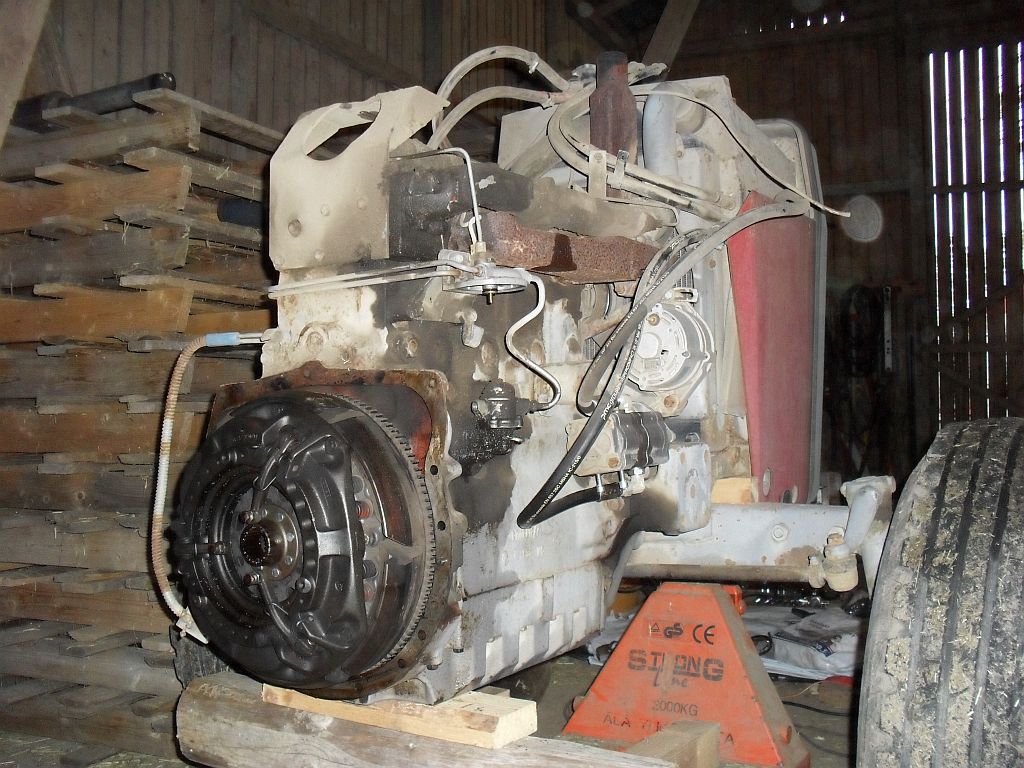
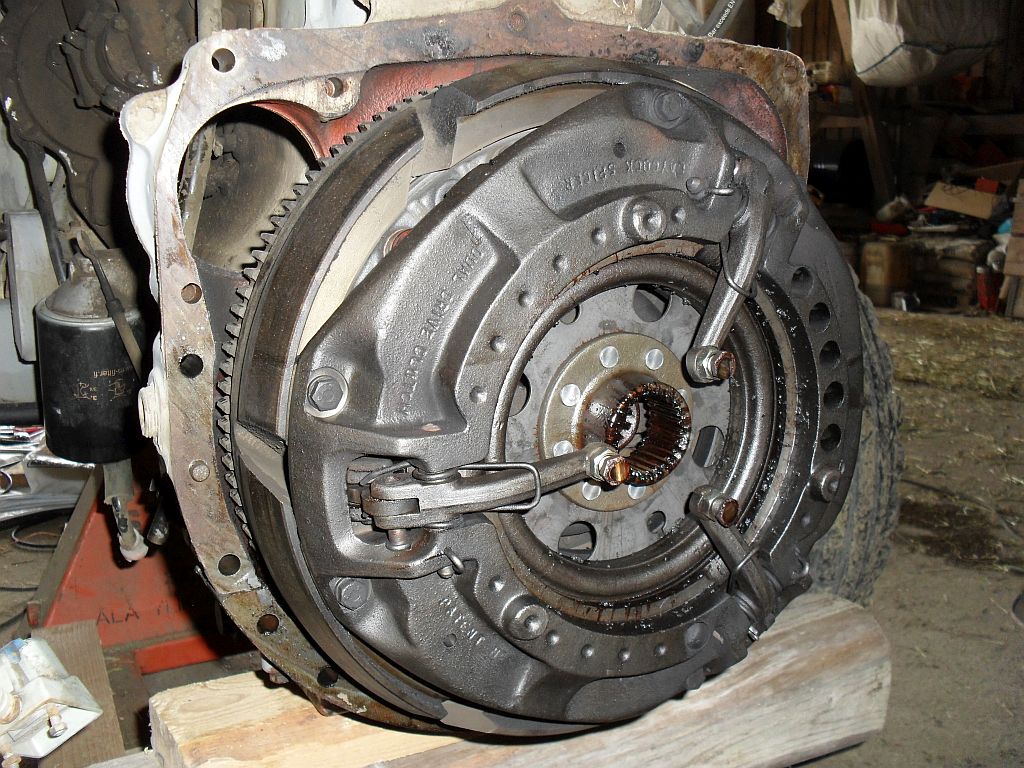
The clutch and the flywheel are clean unlike in my 390. Also the splines on the shafts look nice.
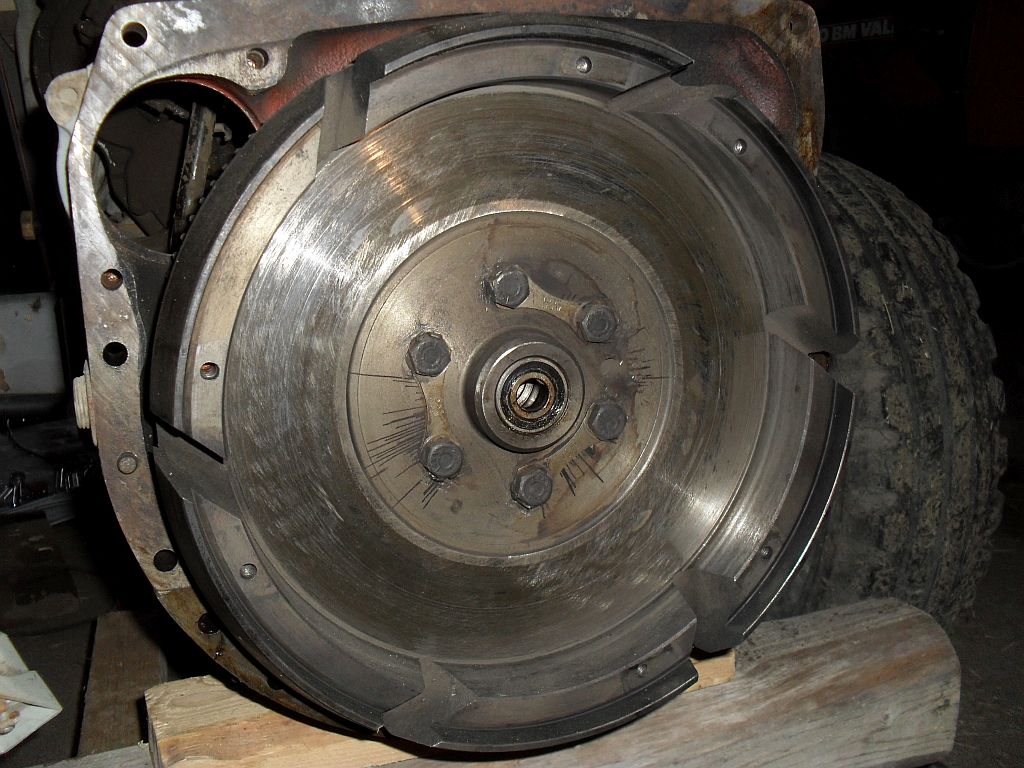
The flywheel side is very dry, but some loose powder behind the clutch plate. Some small grooves on the surface, but it isn't much worn.

Assembly's surface is very plain. The plate has some material left before the rivets start to scrape the surface, but the plate is already missing the grooves, that bring the dust away. The plate is 12 inch (300mm) and organic material.

The drive shaft (inner) is with 10 splines, when 390's split torque cluth had 21. The shaft swung and I desided to take the shafts apart to to check the bearings and change the seals. I had to remove the fork to get the PTO clutch shaft (outer) out and leave the drive shaft in. I could draw the fork shaft out after turning it's actuator rod downwards.
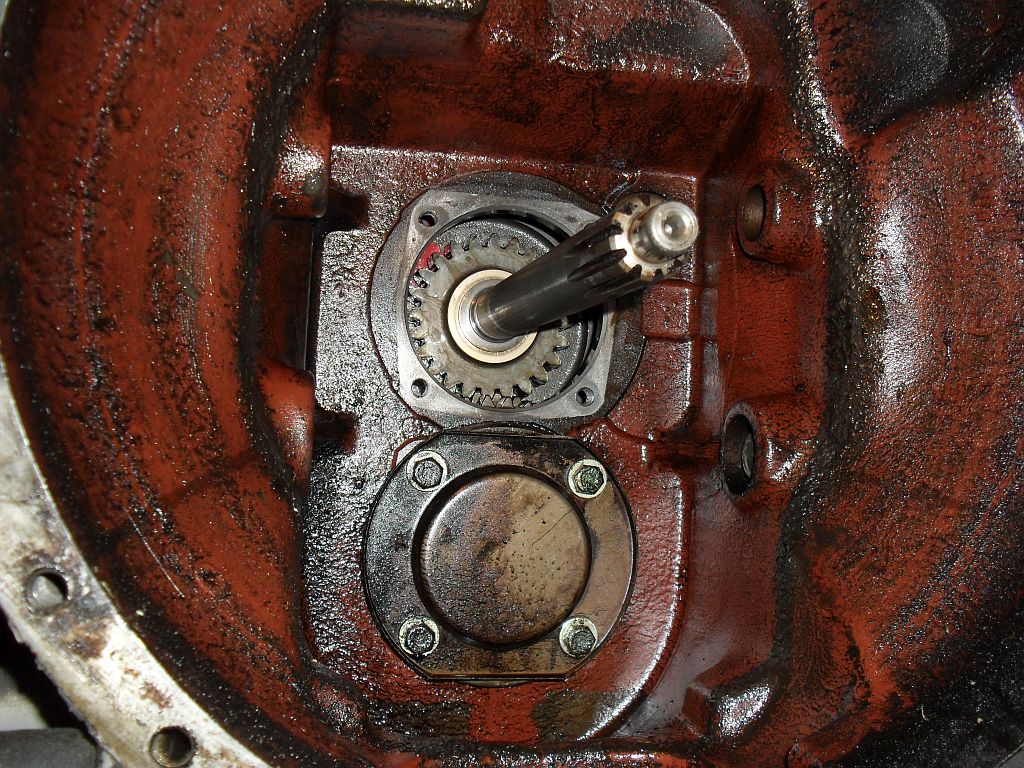
Okay there isn't any bearing inside the hollow shaft like in the 390. So the inner shaft can move and the flywheel's pivot bearing centers it. Now I had to jack up a little to keep the transmission oil in.
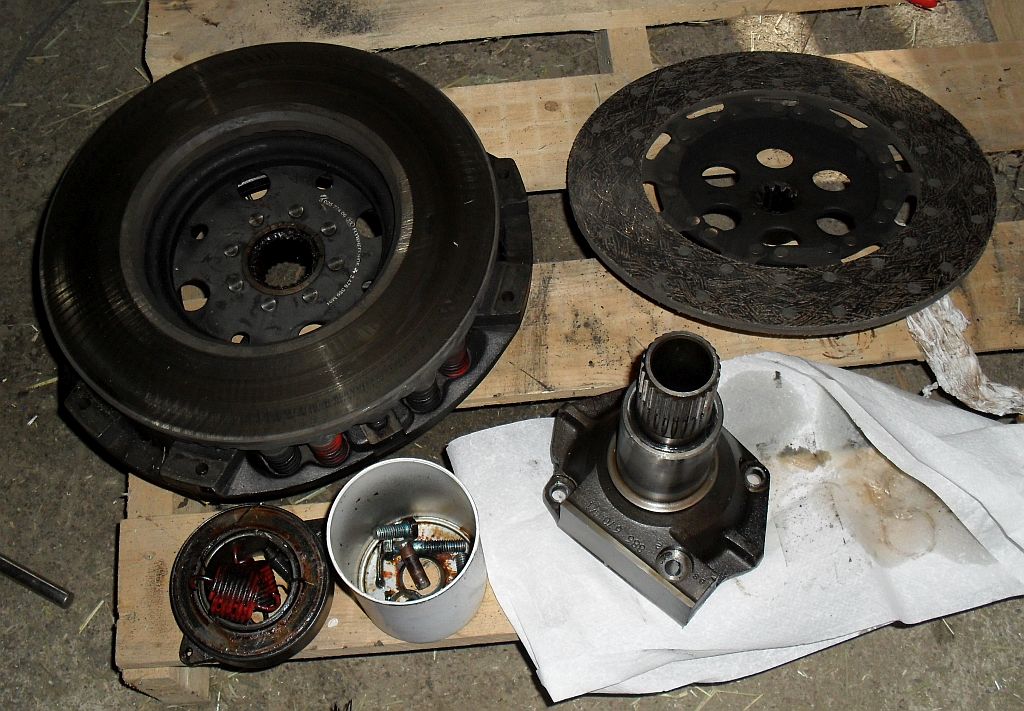
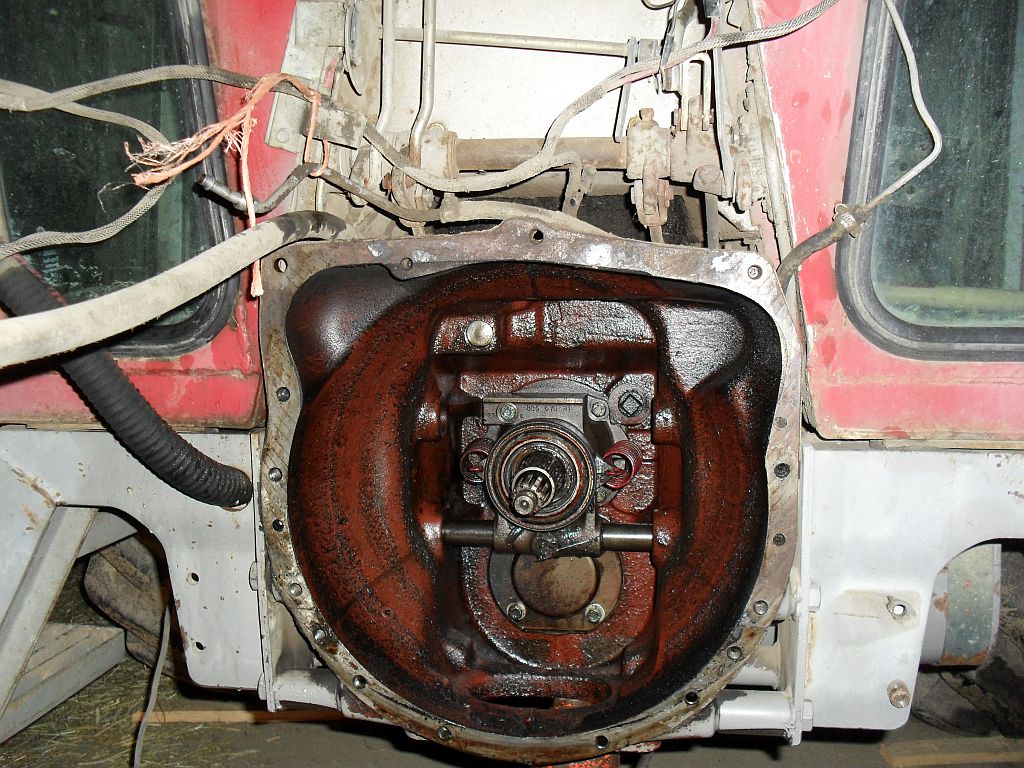
The housing for the pressure bearing and the clutch shafts.
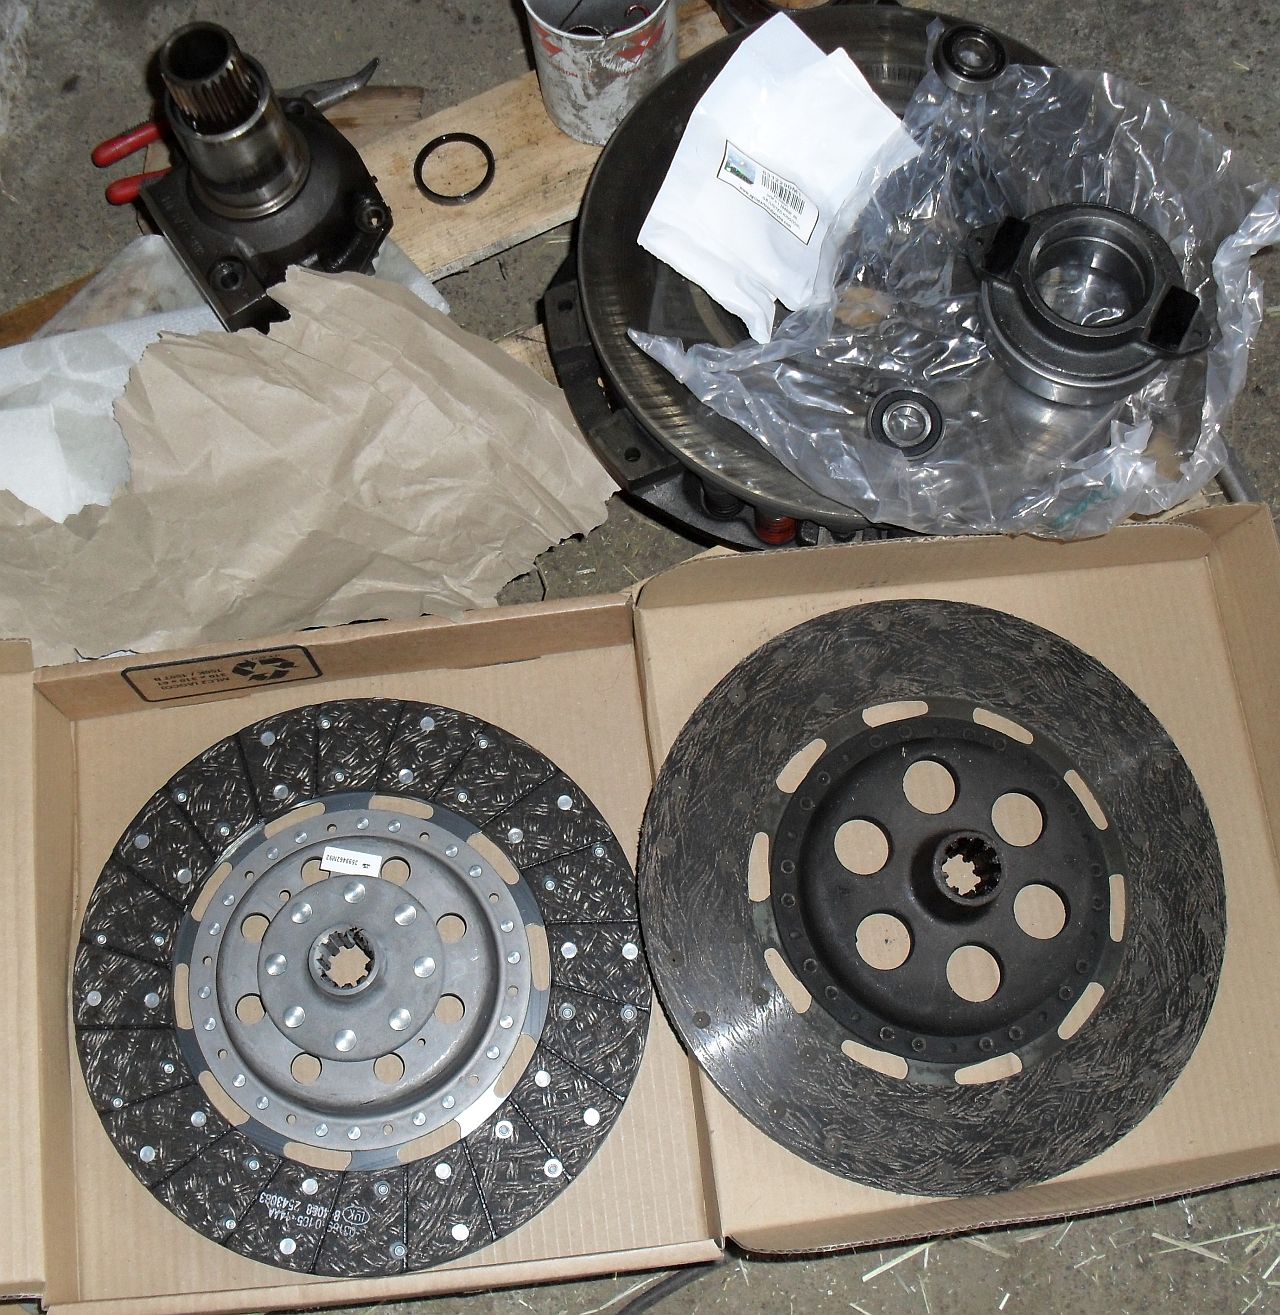
The new plate has radial grooves, that bring the powder out. The pressure and pivot bearings are OK, but I renew them anyway. I bought the parts from Konekeskus Turku, the Massey Ferguson importer in Finland.
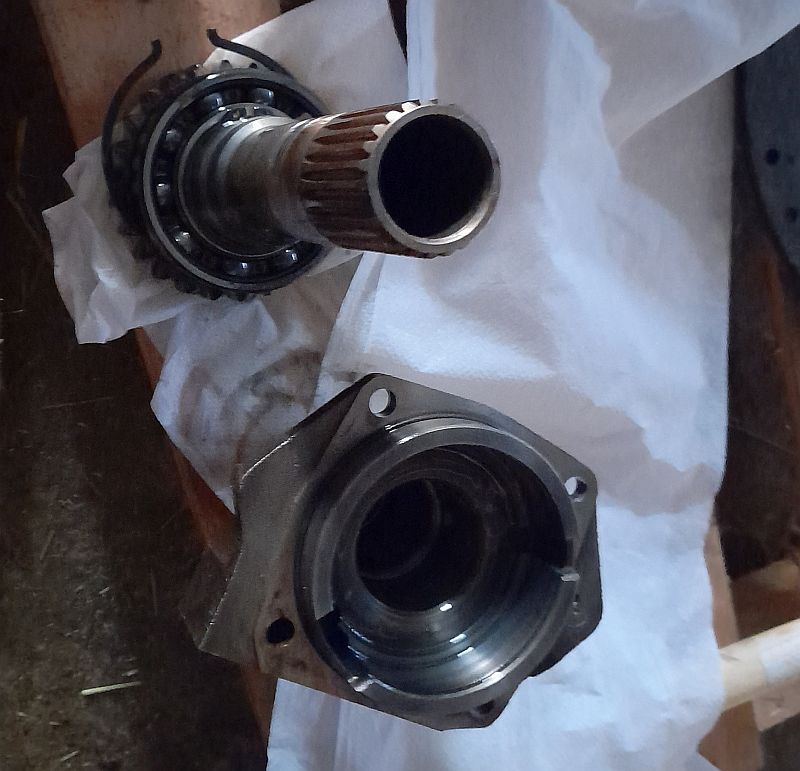
The hollow shaft is locked to the housing with a big ring socket. The housing has an O-ring towards the gearbox, but the bolt threads can leak, so I insert some threadlocker on them.

I changed the gaskets and pressed the hollow shaft back in the housing. So there's a socket between bearing and the gear, ensure that the socket goes to the groove.

I installed the housing back using threadlocker. Then installed the fork and secured it's bolt with a wire. Then installed the new pressure bearing, two springs hold it.

Now I should center two clutch plates and I don't have any machined tool for this. I had three 1/4" UNC bolts, which I can screw into the assembly to force the springs shorter. I tighten the screws so that I can just move a plate and center it by eye. So I visually lined up the plates with the pivot bearing. Those holes on the PTO plate help too.
I checked the distances from the body joint to the adjusting bolts and realized that the left (in pic) was deeper in the assembly. In fact one pin was half loose, because it's socket was missing. The pin can't drop, but arm's position had changed, so I repaired this. I also opened the adjusting bolts about one turn. To join the tractor easily, I tried to line up the splines too. I hanged a plumb line in front of the splines to see the vertical direction and turned the splines along it. In the end I didn't get any benefit from this, not the first time and not the last. There is special grease to lubricate the splines, I didn't have anything too special. Nearest to these adjusting bolts on the front is a belleville spring, then a steel plate and the 10 inch (250mm) PTO clutch plate.
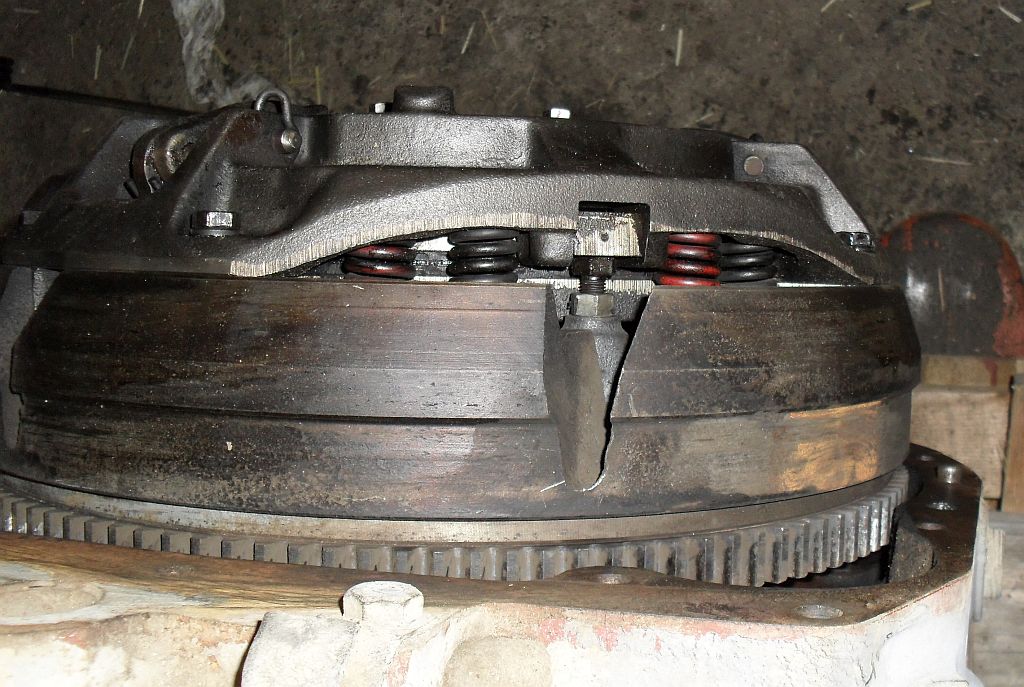
Here one of the PTO clutch adjusting bolts on the side of the assembly. When the pressure bearing presses the releasing arms to the bottom, these bolts press the steel plate apart from the PTO plate. When the pedal is let up, the belleville spring presses the steel plate against the PTO plate; The drive clutch is still released. The gap in the PTO adjusting bolts should be just over 1,5mm, now it's zero with this new clutch plate, so I adjust some. These come near the bottom opening and also the drive clutch adjust can be reached from under the tractor, but not so easy. The drive plate springs are also in sight here. According to the workshop manual there should be 12 red springs, here every second spring is black. They can be stiffer, because I have been said, that some springs was changed, cause the clutch was slipping, when tractor was new. This makes me wonder, because regular setting should be enough in this 60 hp tractor with no sign of oil leaks etc. Maybe the pedal assistor spring had caused some side effect, because it easily prevents the pedal to come up. I think I insert some chain link to make the spring longer and weaker. I found the same problem in my 590, but it has two spots to fasten the long spring, so I changed the spring to lower hole and now it works as it should, I think.
When joining the tractor the rear and front parts should be well lined, because the splines are backwards from the joint. Achieving this with a pallet truck requires some careful navigation. It's worth to measure the gap on left, right, up and down every now and then. Jointing this was harder than my 390. I tried rather long and also thought that center's splines was hurt, so filed the facing edges a bit too. Then I put one bolt to the joint rather loose and some gear on. I turned the flywheel with a screwdriver and simultaneously swang and wiggled the front half. When I felt some resistance, I freed the gear and continued to turn and push. I managed to join it with safe force, altought not so slick.
Before installing the engine cover I installed a new fuel filter and used the hand pump to fill it. To aerate the system I first loosened the plug on front side of the filter leg and pumped some. Then opened the lower aerating screw on side of the injection pump and pumped now a bit blind on the wrong side of the tractor. Then the same procedure with the upper screw. Next I loosened one injector pipe nut on the injector and a long start got the Perkins to run. I tightened the nut being careful with the fuel squirts.
The clutch, gears and PTO worked. Then checked some electrical connectors to get all lights to work too and put the bonnet, exhaust and air intake on.
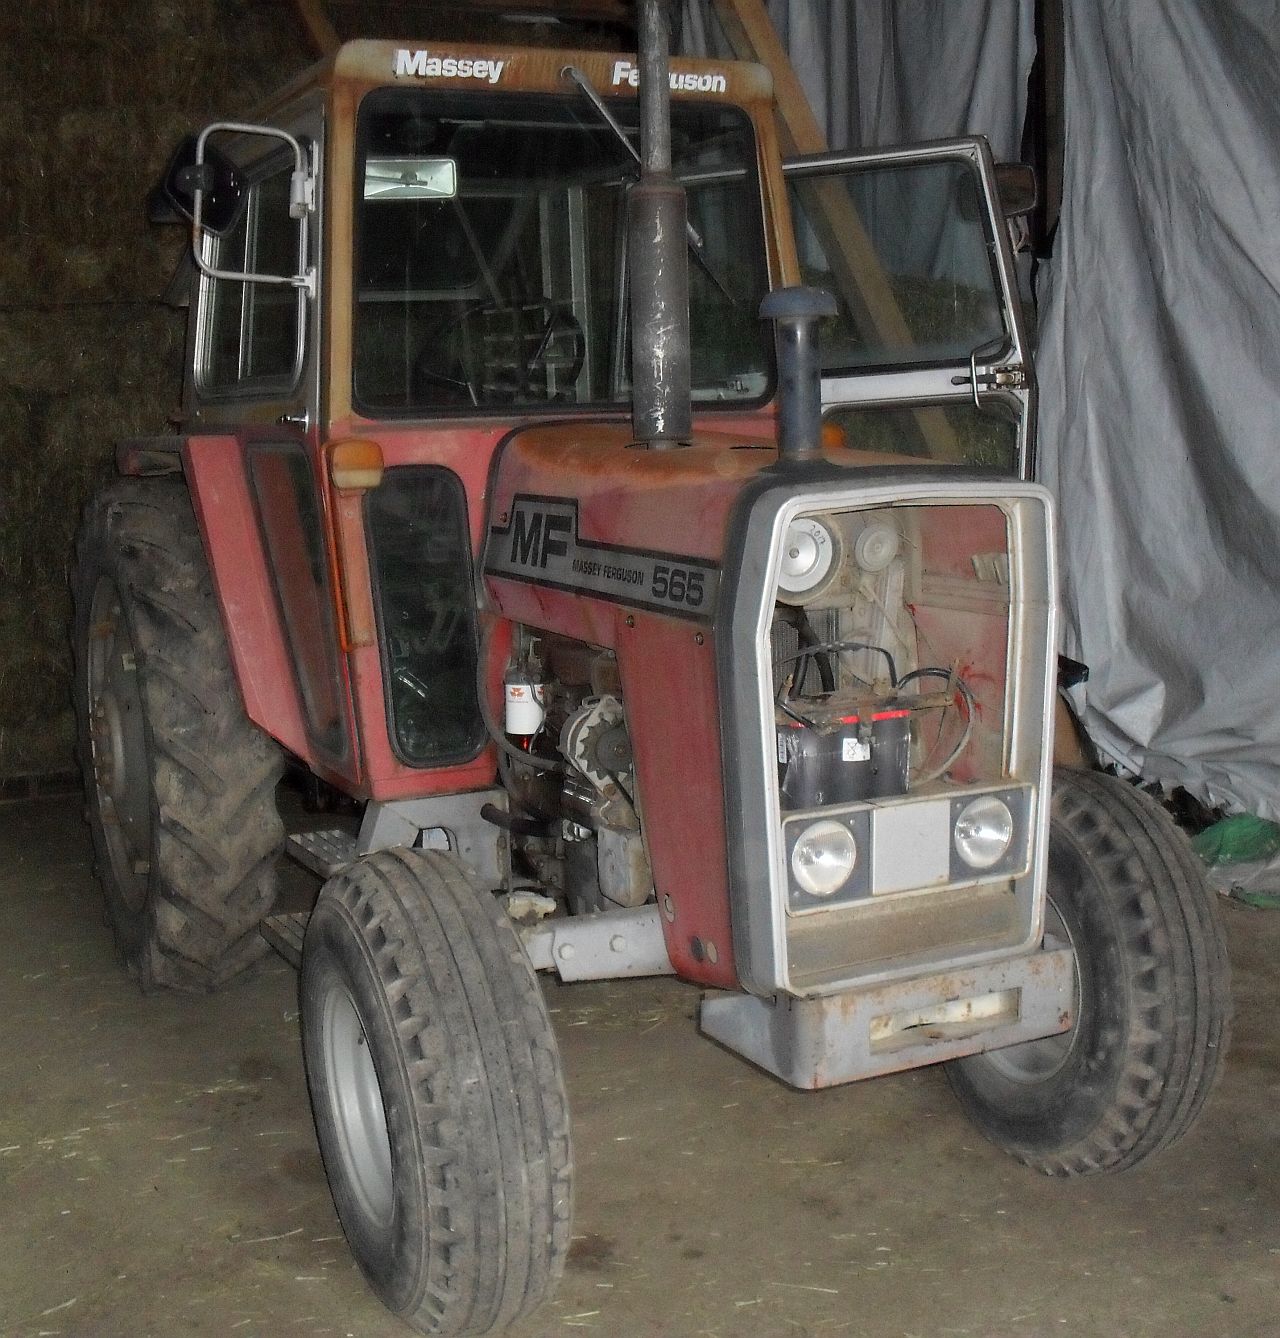
I think a 2WD 565 can have normal or heavy duty front axle. This has that normal axle with 2 bolts per side to adjust the wheel width. My 590 has heavy duty axle with 3 bolts. The wheels turn really much in my 565 and U-turn happens in very narrow space. A 2WD 590 isn't bad turner either, but needs a lot more turning in steering wheel to change direction.

At spring 2022 565 got a change to draw my towable seeder, when the 590 broke the coolant pump. The 565 also powered the log splitter, towed the roller and carried the sprayer and the centrifugal spreader. Worked fine and the clutch felt good apart to the assisting spring I try to adjust a bit.